Category: Freebies/Discounts

Subscriber Special: Free Hour of Code Bundle

Every month, subscribers to our newsletter get a free/discounted resource to help their tech teaching.
July 2-5th
Buy the K-8 curriculum; get the 59-page Hour of Code bundle for FREE
Perfect if you’re doing Hour of Code to teach coding, programming, and problem solving to your K8 students. Here’s what you do: (more…)
Subscriber Special: Discount on School Licenses
Every month, subscribers to our newsletter get a free/discounted resource to help their tech teaching.
May 28th-June 6th:
Buy any K-8 Tech Curriculum School License
20% discount (digital only)
To take advantage of this special, purchase from Structured Learning with PayPal. If you use a PO, email admin@structuredlearning.net with the discount applied to the PO (during the sale).
What is a school license?
Benefits of a School License
- provide an overarching curriculum map for using technology in your school
- provide access to full text PDF from every digital device in your school, 24 hours a day. This maximizes productivity and student independence.
- enable flexible learning paths as students work at their own pace, with the ability to review or work ahead as needed
- share tech-in-ed pedagogy to infuse your school with technology
- enable teachers to vertically integrate with core grade-level teachers
- provide multiple authentic and organic formative and summative assessments
- provide free online Help via Ask a Tech Teacher (staffed by educators who use SL resources).
Benefits of School License for Students
- provide easy access to monthly lessons, how-tos, rubrics, project samples, practice quizzes, grade-level expectations, homework, images, and checklists (grade level Scope and Sequence and the Ready to Move On monthly keyboard workbooks lists, for example)
- provide full color instructions that can be zoomed in on for greater detail
- allow a convenient place to take lesson notes (using a PDF annotator)
- encourage students to be independent in their learning, work at their own pace. This is great both for students who need more time and those who ‘get it’ and want to move on
- enable a quick way to spiral up for quick learners or back to earlier resources for student needing to scaffold their learning
- prepare students for the rigor of end-of-year summative testing

NOTICE: We will be on summer schedule through August. That means 3-4 posts a week instead of 4-5.
Subscriber Special: Double the Discount for Newsletter sign up
Every month, subscribers to our newsletter get a free/discounted resource to help their tech teaching.
Sign up for our newsletter. Get 20% off your next purchase until May 15, 2026! That’s double the usual! Use this code:
YPJY6875
Subscriber Special: Discounted Curricula School License
Every month, subscribers to our newsletter get a free/discounted resource to help their tech teaching.
20% discount on school curricula
Code: KZJ8MBNV
4-22-26 through 4-27-26
Subscriber Special: 50% off Sidebar Sponsors
Every month, subscribers to our newsletter get a free/discounted resource to help their tech teaching.
March 5-15th
50% discount on sidebar sponsors (instead of $100 per month, you get the same program for $50 a month)
Required: Minimum of 6 months paid in advance, or $300
We place your logo and link in the blog sidebar. Additionally, once a month, I’ll share an optional update on your product with my readers (which you write).
Contact askatechteacher @ gmail . com for details. (more…)

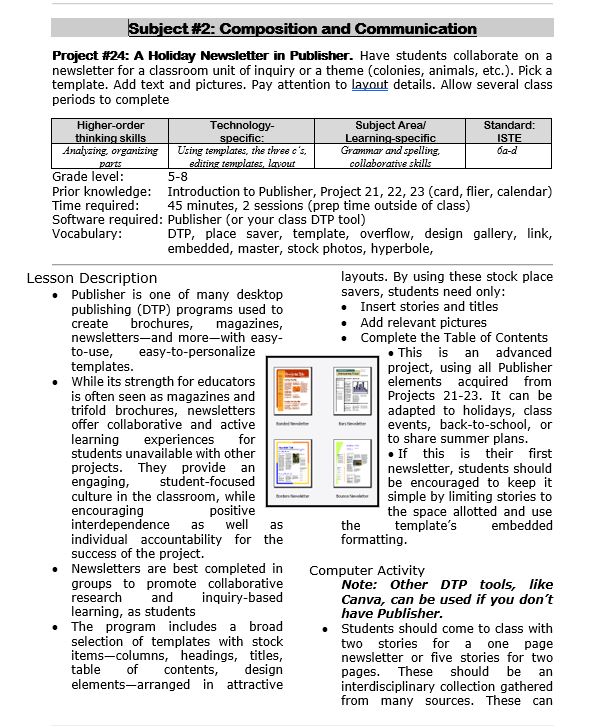
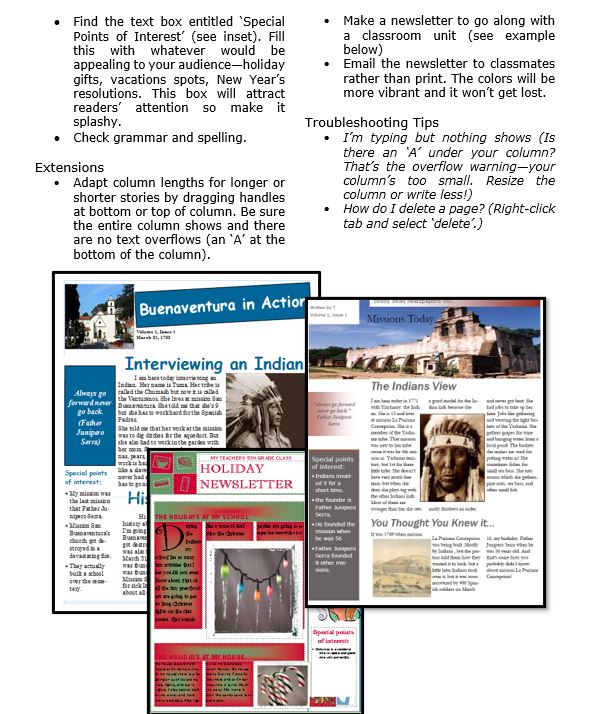
#52: Indigenous Cultures Magazine in Publisher
Here’s a great lesson plan that’s adaptable to history, science, or any number of other topics:

This project introduces the basics of magazine creation in MS Publisher while students engage in inquiry-based learning that incorporates discovery and fosters curiosity. The project includes a cover, table of contents, border, map, banner title, five fast facts and pictures. This is an easy project that always comes out nicely for learners.
If you don’t use MS Publisher, adapt this project to your favorite class magazine publisher, like Canva:
(more…)

#72: How to Check Your Math in Excel
 One of the most popular applications of math is through spreadsheets (like Excel) that make those numbers relevant to everyday life. We’re going to provide a series of lessons on spreadsheet basics you can use in your K-8 classroom. Here are some of the topics we’ll cover:
- #74: Mastering Excel (for Beginners)
- #71: Beginning Graphs in MS Excel
- #70: Create a Timecard in Excel for Grade Two and Up
- #73: How to Graph in Excel
- #12: Create Simple Shapes in Excel
- #75: Tessellations in Excel
- #72: How to Check Your Math in Excel
- How to Use Excel to Teach Math Arrays
- #62: Email from Word (Or PowerPoint or Excel)
- #79: Excel Turns Data Into Information
–from 55 Technology Projects for the Digital Classroom.
–5 bundled Excel lesson plans (for a fee)
Today
#72: How to Check Your Math in Excel
Subscribe to my Blog–Get Monthly Gifts
If you subscribe to my blog, you are eligible for specials on tech ed books, lesson plans, tips, and help every month. Here are some of the specials subscribers have received this past year:
- 5 for $25 on tech themed bundles
- Discount on Tech Tips
- Free Posters
- 50% off Sidebar Sponsorship
- Savings on Common Core math lessons
- Holiday project book
- Discount on Back to School Survival Kits
Here are some coming up in future months: (more…)

Three Projects to Kick Off the Holidays

Click to enlarge lesson plans
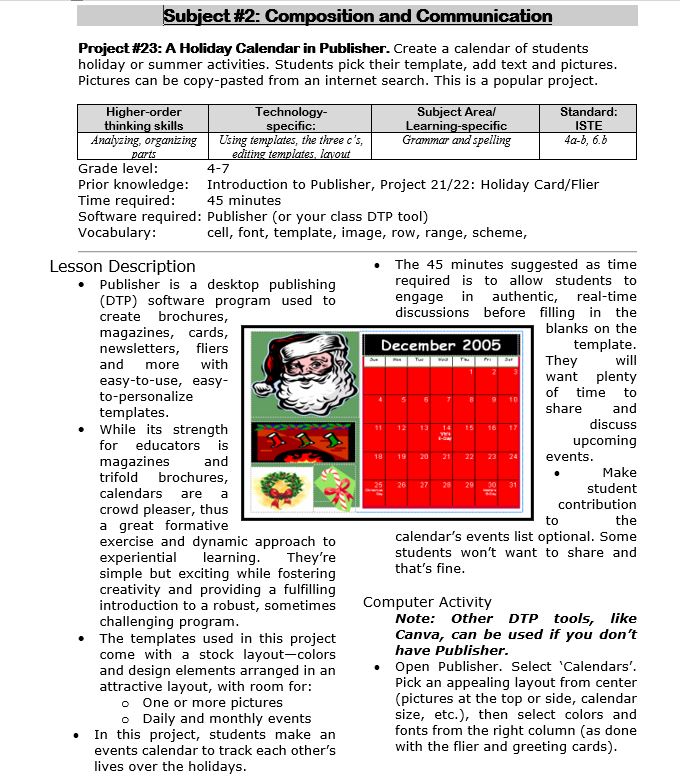
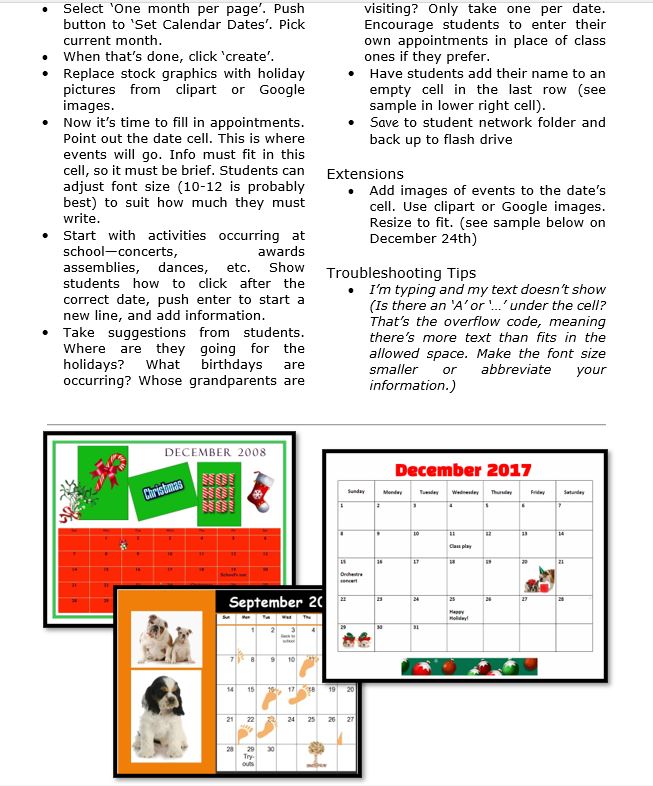
A Holiday Calendar
Kids love making this calendar. They get to talk about their upcoming vacations and hear what their friends are doing. It’s simple enough for third grade with advanced tools that satisfy a fifth graders growing intellect.

8: Fifth Grade Cloning in Photoshop

Adobe Photoshop is kind of KidPix for grown-ups, as well as the default photo-editing program for anyone serious about graphics. This series of projects (available in the first volume of the book, 55 Technology Projects for the Digital Classroom) introduces students to a traditionally-challenging program in an easy to understand way, each project scaffolding to the next, thus avoiding the frustration and confusion inherent in most Photoshop training.
Here are the skills fifth graders can learn in Photoshop if you’ve prepared them with basic computer skills. I’ve provided links. The bolded ones are published, unbolded coming soon:
- Photoshop artwork–live
- Photoshop actions–live
- Photoshop basics #5 live
- Photoshop filter and rendering tools
- Photoshop starters–auto-correct with the auto-correction — live quick fixes that make a photo look cleaner #6
- Photoshop crop tool–Live
- Photoshop clone tool– live
- Photoshop–change the background–live
- Photoshop tools–add custom shapes–live
- Photoshop–start with Word –live (a little dated but still useful)
Today: Cloning
The clone tool duplicates a hard to crop-and-copy image (like the flowers below) or deletes part of a background—a sign or a post in a nature scene—you don’t want there. You can clone within a picture (as with the flowers), (more…)