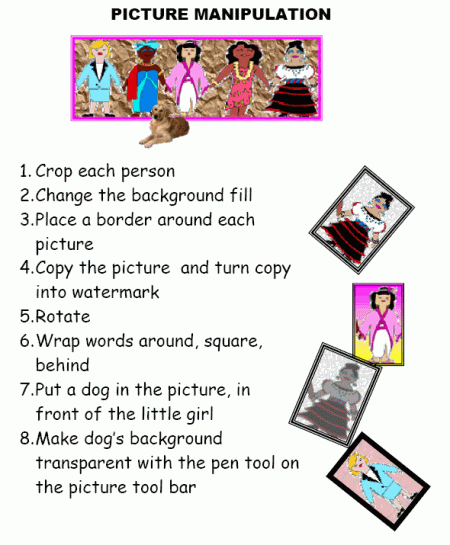
Before we get into Photoshop, we’ll start with a program your fifth grader is most likely comfortable with: MS Word. For basic image editing, Word does a pretty good job, so we’ll start with a project using Word’s tools:
- Open a blank document in MS Word. Insert a picture with multiple focal points (see sample).

- Duplicate the image once for each focal point.
- Click one image to activate toolbar.
- Crop each duplicate to show just one of the focal points
- Double click the image to bring up the ‘Format Picture’ dialogue box.
- Change the fill and border (line). Use the ‘Picture—image control’ tab to change to washout, grayscale, etc. Say OK.
- Click image once to display the ‘dot. Rotate picture creatively.
- If you use pictures from the internet, be sure they’re royalty free.
I’ve put it all on one page for you if you want to print it out:

PS–If you don’t have Photoshop, try the free download called GIMP.
Jacqui Murray has been teaching K-18 technology for 30 years. She is the editor/author of over a hundred tech ed resources including a K-12 technology curriculum, K-8 keyboard curriculum, K-8 Digital Citizenship curriculum. She is an adjunct professor in tech ed, Master Teacher, webmaster for four blogs, an Amazon Vine Voice, CSTA presentation reviewer, freelance journalist on tech ed topics, contributor to NEA Today, and author of the tech thrillers, To Hunt a Sub and Twenty-four Days. You can find her resources at Structured Learning.


