How to Create a Tech-based Curriculum Using the SAMR Model
 This is a question I get often from teachers: How do I teach my state/national/international curriculum using technology? When I first addressed this issue about fifteen years ago, there weren’t any tools to make this happen. In fact, I ended up writing my own project-based technology curriculum (now in its fifth edition). I wanted a curriculum that scaffolded learning year-to-year, blended into the school academic program, could be re-formed to apply to any academic topic, differentiated for varied student learning style, and was age-appropriate for the needs of the digital natives populating my classroom. Everything I found through traditional sources was skills-based, undifferentiated, and relied on programs that have always been around rather than the ones that incited student passion.
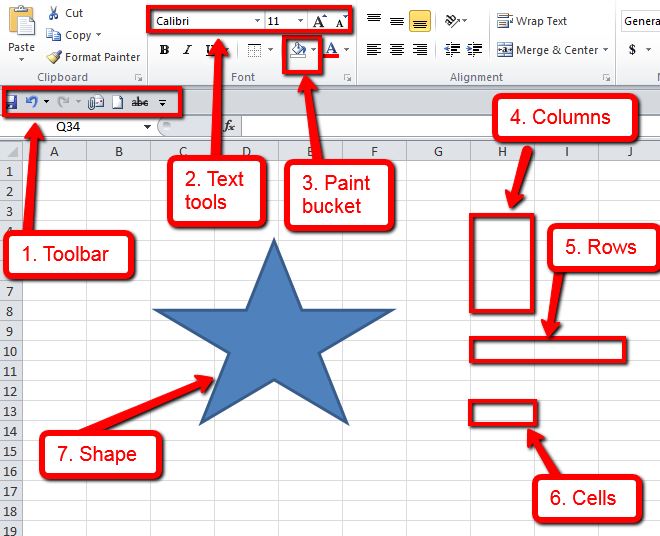
The most difficult part was convincing colleagues that 2nd graders couldn’t write a book report in MS Word until they understood toolbars, keyboarding basics, enough digital citizenship to research effectively online, and how to solve the never-ending-but-repetitive tech problems they surely would face during their work.
Overall, it took a year to curate teacher needs, evaluate what skills were required to accomplish them, and then blend them into a tech program that optimized learning for the particular age group.
Before I disclose my secret formula, let’s assess where you are–right now–in your technology integration efforts. Dr. Ruben Puentedura developed the popular SAMR model as a way for teachers to evaluate how they are incorporating technology into their instructional practice. Here’s how it works:
Substitution
Tech acts as a direct tool substitute with no functional change.
This is a great starting point. Look at what you’re doing in your lesson plans and consider what tech tools could replace what you currently use. For example, if you make posters to discuss great inventors, could you use an online tech tool like Glogster or Canva?
Augmentation
Tech acts as a direct tool substitute with functional improvement.
Share this:
- Click to share on Facebook (Opens in new window) Facebook
- Click to share on X (Opens in new window) X
- Click to share on LinkedIn (Opens in new window) LinkedIn
- Click to share on Pinterest (Opens in new window) Pinterest
- Click to share on Telegram (Opens in new window) Telegram
- Click to email a link to a friend (Opens in new window) Email
- More
10 Spreadsheet Tips You Don’t Want to Miss
 Here are the top ten spreadsheet tips according to Ask a Tech Teacher readers. Many are for Excel–just adapt them to Google Sheets if that’s your school program. Most are free lesson plans:
- #79: Excel Turns Data Into Information
- #74: Mastering Excel (for Beginners)
- #73: How to Graph in Excel
- 71: Beginning Graphs in MS Excel
- Tech Tip #62: Email from Word (Or PowerPoint or Excel)
- How to Use Excel to Teach Math Arrays
- #12: Create Simple Shapes in Excel
- #75: Tessellations in Excel
- #72: How to Check Your Math in Excel
- #70: Create a Timecard in Excel for Grade Two and Up
Share this:
- Click to share on Facebook (Opens in new window) Facebook
- Click to share on X (Opens in new window) X
- Click to share on LinkedIn (Opens in new window) LinkedIn
- Click to share on Pinterest (Opens in new window) Pinterest
- Click to share on Telegram (Opens in new window) Telegram
- Click to email a link to a friend (Opens in new window) Email
- More
May–Military Appreciation Month–God Bless Our Soldiers
As many of you know, I have a daughter in the Navy and a son in the Army. I love them both and live every day worried. But through it all, I appreciate what they are doing to make America what so many need it to be.
I love America. I love our military. I love my daughter and son.
You don’t have to watch all of these. I got carried away on YouTube. I just couldn’t pick a favorite…
[youtube https://www.youtube.com/watch?v=9qqPqHGX7q4]
[youtube https://www.youtube.com/watch?v=2UG5YoHcCAY]
[youtube https://www.youtube.com/watch?v=IwoXmXA8BvY]
[youtube https://www.youtube.com/watch?v=ahHPRFJinZM]
[youtube https://www.youtube.com/watch?v=m3MX2ha8QAQ]
[youtube https://www.youtube.com/watch?v=a4AUp5EzZ4M?list=PLZC5ws6GCJFk3S37RGq2PuMVYFuhsOL8V]
And the ever-favorite (17 million views):
Share this:
- Click to share on Facebook (Opens in new window) Facebook
- Click to share on X (Opens in new window) X
- Click to share on LinkedIn (Opens in new window) LinkedIn
- Click to share on Pinterest (Opens in new window) Pinterest
- Click to share on Telegram (Opens in new window) Telegram
- Click to email a link to a friend (Opens in new window) Email
- More
Turnitin Launches Feedback Studio
 One of my favorite classroom management tools is Turnitin, especially with the addition of Revision Assistant–one of the most comprehensive virtual writing assistants available to students (here’s my review of Revision Assistant).
Well, now Turnitin has launched Feedback Studio. It’s a revamp of their flagship product, with some twists:
Today, Turnitin announced a new version of its flagship product with a focus on ease-of-use, accessibility for students, and new mobile features to support instruction in the modern classroom. Formerly known as “Turnitin,” the new version is being renamed “Turnitin Feedback Studio” and will be made available to its two million educators and 30 million students on an opt-in basis beginning today. Click to Tweet.
Feedback Studio offers:
- Great feedback, fast
- Anytime, anywhere learning. Responsive design works on PCs, tablets, and smartphones.
- Accessibility improvements
- Unparalleled content coverage. Enhanced technology intelligently and rapidly crawls and indexes the most relevant and up-to-date content on the Web, including content hidden behind Javascript, expanding Turnitin’s vast content database in support of academic integrity.
Turnitin Feedback Studio will be available to all current Turnitin users and is available on a per-student, annual subscription basis to new customers.
Share this:
- Click to share on Facebook (Opens in new window) Facebook
- Click to share on X (Opens in new window) X
- Click to share on LinkedIn (Opens in new window) LinkedIn
- Click to share on Pinterest (Opens in new window) Pinterest
- Click to share on Telegram (Opens in new window) Telegram
- Click to email a link to a friend (Opens in new window) Email
- More
8 Google Earth Tips and Resources You Don’t Want to Miss
Here are eight of the top Google Earth tips and resources according to Ask a Tech Teacher readers:
- Monday Freebies #38: Introduction to Google Earth
- Google Earth: User-Friendly in the Classroom
- 5 Google Earth Lesson Plans
- Tech Tip #65: Google Street View
- Monday Freebies #39: Google Earth Board
- Monday Freebies #40: Wonders of Google Earth
- Lesson Plans: Where Did I Come From?
Share this:
- Click to share on Facebook (Opens in new window) Facebook
- Click to share on X (Opens in new window) X
- Click to share on LinkedIn (Opens in new window) LinkedIn
- Click to share on Pinterest (Opens in new window) Pinterest
- Click to share on Telegram (Opens in new window) Telegram
- Click to email a link to a friend (Opens in new window) Email
- More
Zap Zap Math–Clever, Robust Math App for K-6
 Many of you are familiar with the award-winning free app called Zapzapmath. I first learned about it through an email about their newly updated platform–
…addictive math games..
kids fall in love with math..
free, higher order thinking games…
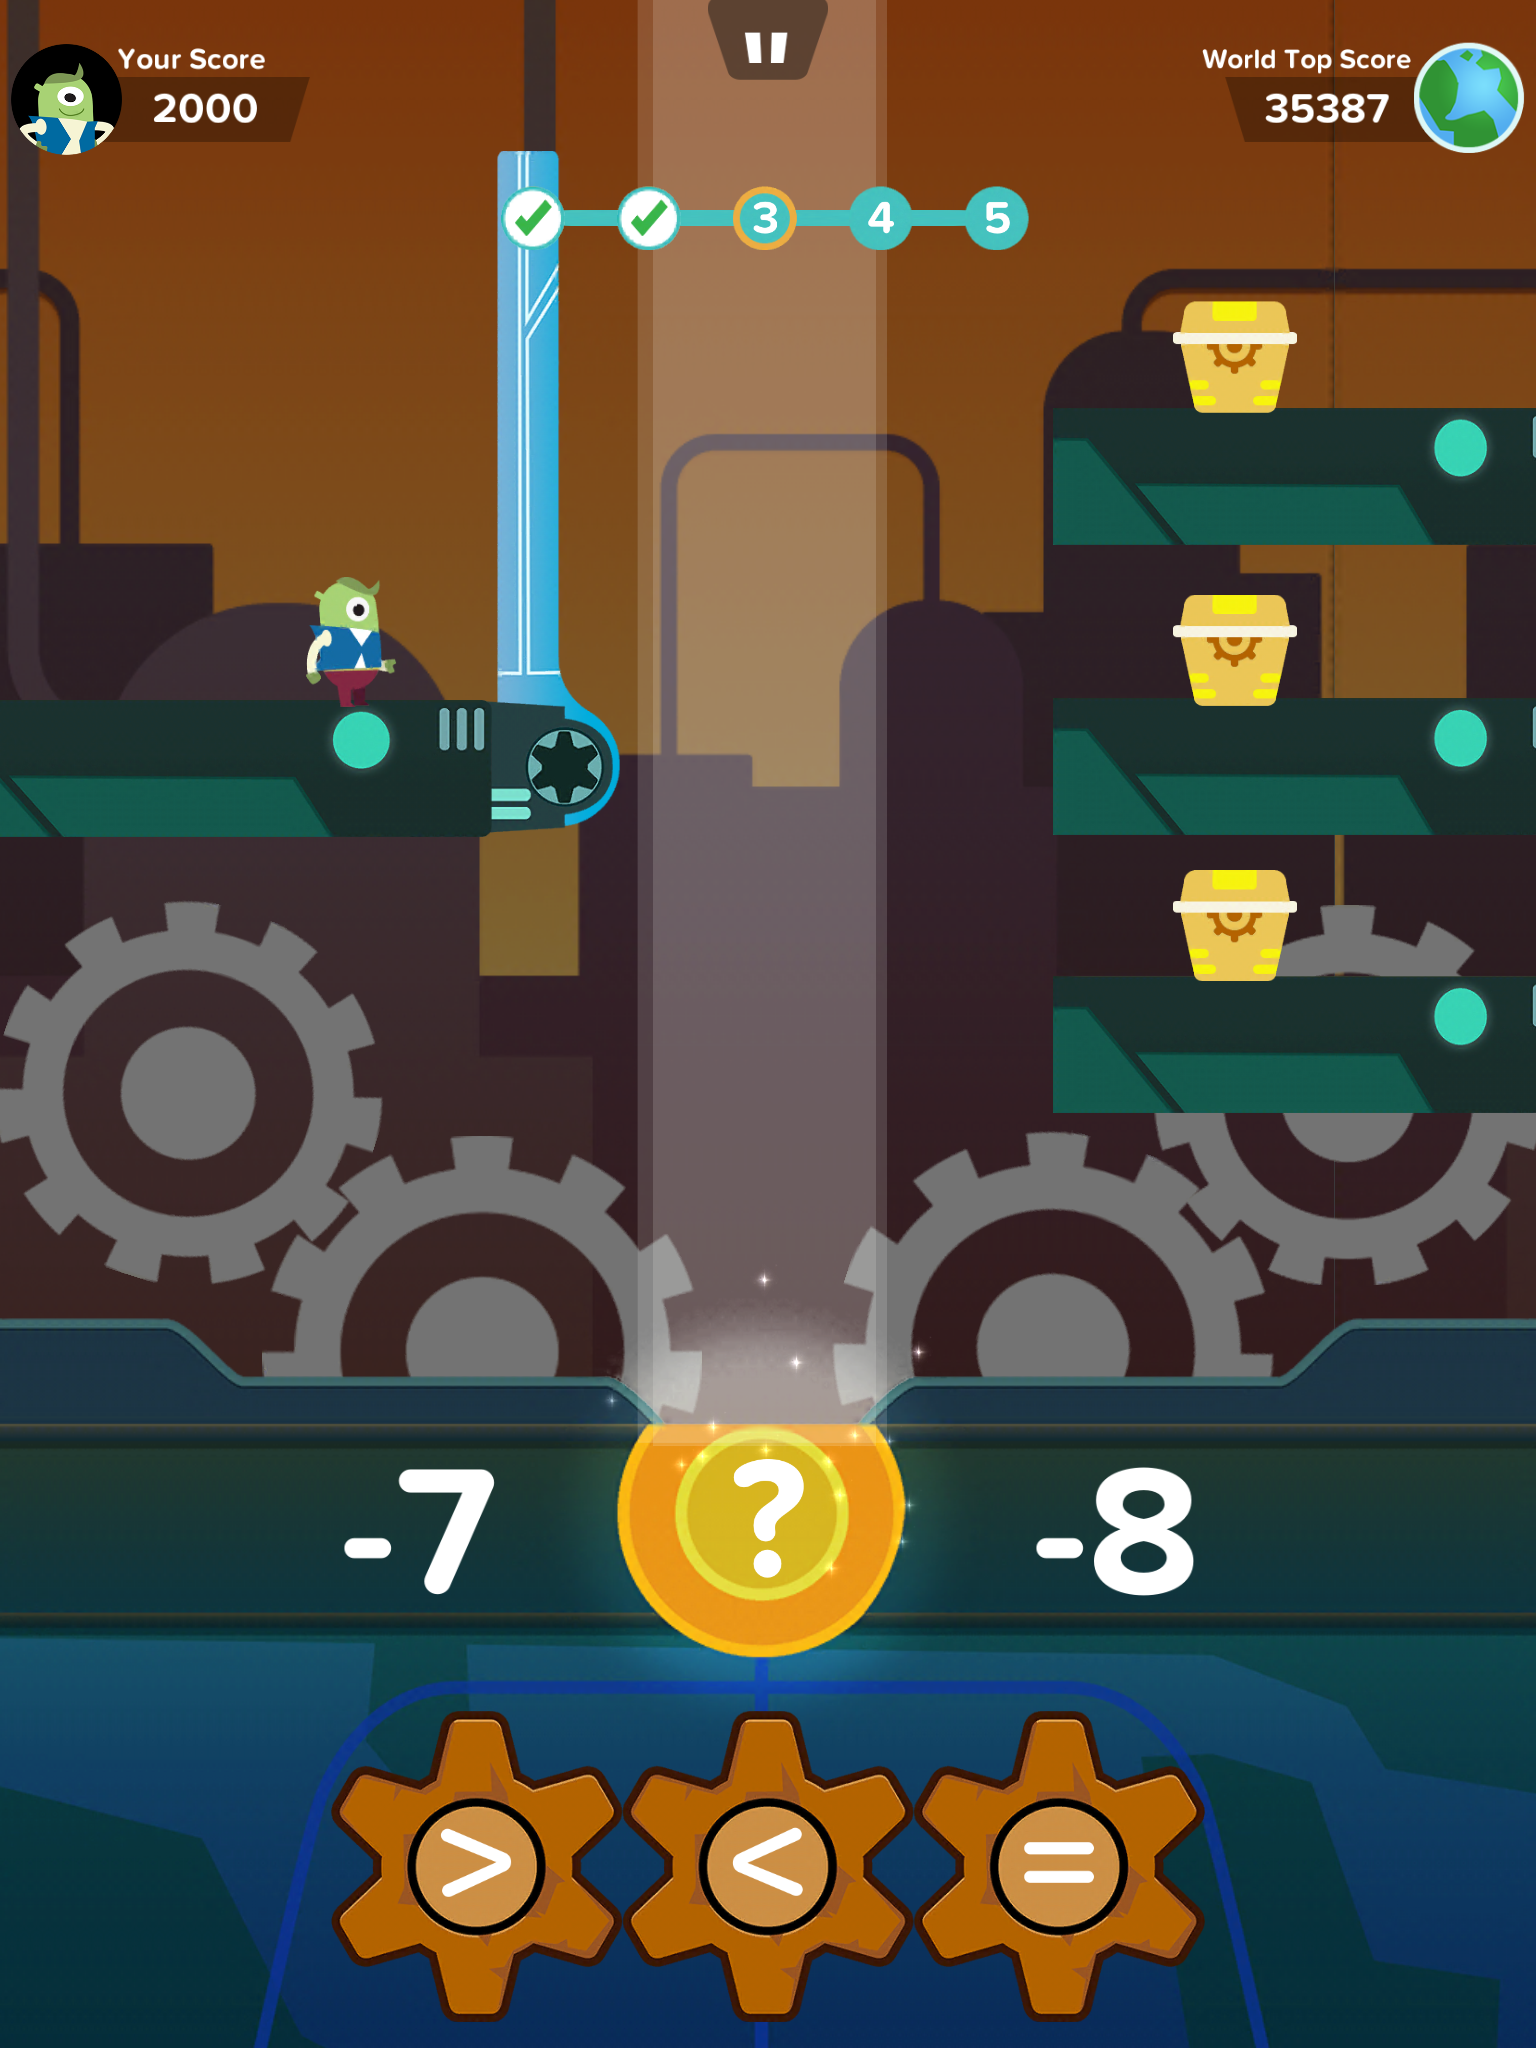
I have to admit, I was intrigued. Not a lot of math apps can fulfill these claims. Could Zapzapmath, with that zippy name, beautiful visual graphics, lively music, and the space theme, come through? I downloaded it and took it for a test drive. Here’s what I found: Fifty (at the date of this publication) free fast-paced K-6 interactive math games that are Common Core-aligned and suited for varied student learning styles, with activities that advance with student skills, and no internet connection required (though WiFi is required). Student activity is recorded to the teacher (or parent) dashboard, making it easy to focus on areas of difficulty. And parents are partners, having access to their child’s progress, right down to the minutiae of the skills they learned, like “knows the meaning of equal sign”.
Game categories include:
Share this:
- Click to share on Facebook (Opens in new window) Facebook
- Click to share on X (Opens in new window) X
- Click to share on LinkedIn (Opens in new window) LinkedIn
- Click to share on Pinterest (Opens in new window) Pinterest
- Click to share on Telegram (Opens in new window) Telegram
- Click to email a link to a friend (Opens in new window) Email
- More
A Helping Hand: Assistive Technology Tools for Writing
 I don’t write enough about special needs so when Rose contacted me with an article idea, I was thrilled. Rose Scott is a literary teacher who is interested in making education comfortable for students with special needs. Her dream is to help students explore their talents and abilities. You can follow her on Twitter: @roserose_sc.
In this article, Rose writes about a little-known problem that students may unknowingly suffer from that may make it look like they are plagiarising when–to them–they aren’t.
Read on:
Many people have come to believe that plagiarism is intentional and evil, and all students whose works have text coincidences are shameless wrongdoers. While it may seem that the majority of plagiarists do turn out to be cheaters, there are exceptions. Have you ever heard of cryptomnesia?
Cryptomnesia, according to the Merriam-Webster medical dictionary, is “the appearance in consciousness of memory images which are not recognized as such but which appear as original creations.” In other words, a person says something for the first time (as he or she thinks), but in reality he/she has already mentioned it, and now just doesn’t remember the previous occurrence.
Share this:
- Click to share on Facebook (Opens in new window) Facebook
- Click to share on X (Opens in new window) X
- Click to share on LinkedIn (Opens in new window) LinkedIn
- Click to share on Pinterest (Opens in new window) Pinterest
- Click to share on Telegram (Opens in new window) Telegram
- Click to email a link to a friend (Opens in new window) Email
- More
3 Free/Freemium Tools for Rubrics
Rubrics are a well-accepted, even transformative tool for assessing student knowledge over a breadth of criteria. Their deep granular detail enables students to quickly understand what is expected of them, teachers to receive critical feedback on student learning, and both sides to benefit from an agile yet objective tool for measuring workflow competency.
But they are not without their problems. The pre-online versions weren’t dynamic or flexible, couldn’t be re-used, and few teachers had the time or energy to build these summative, purpose-built assessments. That changed with online rubrics. These webtools offer standard topical text that can be quickly personalized, saved for re-use in the future, and easily updated year-to-year to reflect changes in the curriculum and desired learning outcomes.
There are many online rubric creators, each with a little different twist on the norm. Here are three that fill different needs. Decide which works the best for you:
 Rubistar
Free
Rubistar is the gold standard of online rubric creators. It lets teachers personalize categories and qualifications, save, and then edit for another class. You can use the site rubric templates or modify them to better serve your particular needs. Rubrics can be created in English or Spanish, in ten different subject areas, with ten or more skill categories (this varies depending upon the subject chosen).
Here’s how it works:
- Set up an account so you can save your rubrics, making them available to be re-used and edited for future needs. This is optional–rubrics can be created without registering.
- Pick the subject category you wish to create a rubric for.
- Start with a generic template or from scratch. Alternatively, search by keyword or topic for rubrics other Rubistar members have created and remix those.
- Pick a grading scale–either numeric or descriptive.
- Pick a category for each row from the drop-down list and the rubric automatically populates with language defining what the category would look like based on the rating.
- Edit criteria so it perfectly fits your needs or accept the well-considered defaults.
- When you’re done, submit.
- Once the rubric is rendered, you can print, download, or make it available online to your account.
Educational applications
Rubistar is invaluable in creating personalized, quick rubrics that are easily edited for varied needs. For registered users, there’s a vast library of rubrics created by members that can be used. Teachers can also use the rubric to evaluate student performance. For example, if a third of students scored poorly on ‘Diagrams’ in the math rubric, the teacher knows immediately this is an area that requires review.
Share this:
- Click to share on Facebook (Opens in new window) Facebook
- Click to share on X (Opens in new window) X
- Click to share on LinkedIn (Opens in new window) LinkedIn
- Click to share on Pinterest (Opens in new window) Pinterest
- Click to share on Telegram (Opens in new window) Telegram
- Click to email a link to a friend (Opens in new window) Email
- More
7 Tips for Using Social Media for Professional Development
 Tell me if this sounds familiar:
With the 2016 New Year, you resolved to build your Professional Learning Network–finally, to stop living in the 20th century where your world revolved around a sticks-and-bricks building, a landline phone, and the mailbox. You joined all the big social media platforms (Twitter, Facebook, blogging–just for starters). The plan was to connect with the movers and shakers in education, learn from them, and have them as a resource for those times you needed help on a lesson plan or to select the perfect webtool for a project. You committed hours to it, and then days, eager to make this work because everyone you know talks about how much they learn from social media. Now, six months into it, you know too much about your followers’ lunch plans and almost nothing about their educational pedagogy. You’re frustrated, angry, and ready to give this whole failed effort up.
Without knowing anything about you other than that paragraph above, I’m going to predict that you didn’t manage your social media, got intimidated by the words ‘friend’ and ‘defriend’, and quickly became overwhelmed by the volume of information that flooded your inbox every day. The purpose of a social media-based PLN is to extend your reach beyond the narrow confines of the bubble you live in, but that isn’t what happened for you.
Before you unplug from the virtual world, try these seven steps. They’ll clean up the clutter, smooth out the wrinkles, and put you back in the driver’s seat of your online life:
Keep your stream pure
Only accept or seek friends who are in your professional area of interest. This is less like a speed-dating party and more like a job application. When you come across a promising educator, visit their social media, pass judgment on whether they fit your needs, and then make a decision.
Share this:
- Click to share on Facebook (Opens in new window) Facebook
- Click to share on X (Opens in new window) X
- Click to share on LinkedIn (Opens in new window) LinkedIn
- Click to share on Pinterest (Opens in new window) Pinterest
- Click to share on Telegram (Opens in new window) Telegram
- Click to email a link to a friend (Opens in new window) Email
- More
17 Ways to Add Tech to your Lessons Without Adding Time to Your Day
 Because I teach graduate classes for educators, I talk to lots of teachers all over the country. It’s become clear to me that for most of them, adding technology to their lessons means layering more work on top of their already overburdened lesson plans. Despite the claims of tech gurus that technology makes the job of teaching easier, few educators see it that way. Even the ones who love it put in lots of extra time to do one or more of the following:
- learn tech tools and then teach their students
- learn tech tools only to discover it’s not what they need
- learn a tech tool they love only to have it either disappear or switch to a fee-based program
- rework existing lesson plans in the school’s mandated digital program that too often, changes every year. This means they have to re-enter the lesson plan in a new format for a new LMS
- find a tool they love, but no one else in their teaching team agrees, understands it, or cares
- the tool won’t work on the Big Day of the lesson and nothing will bring it back to life
- the digital devices–computer or Chromebooks or iPads–won’t work on the Big Day
But the biggest reason is this: Students don’t know the technology, so their projects become rudimentary displays of their knowledge rather than anything resembling the higher order thinking we teachers aspire to. I’d put it at S- in the SAMR Model (if you don’t know what that is, click to get a brief primer).
Share this:
- Click to share on Facebook (Opens in new window) Facebook
- Click to share on X (Opens in new window) X
- Click to share on LinkedIn (Opens in new window) LinkedIn
- Click to share on Pinterest (Opens in new window) Pinterest
- Click to share on Telegram (Opens in new window) Telegram
- Click to email a link to a friend (Opens in new window) Email
- More


