Category: Images

#4: Photoshop for Fifth Graders: The First Step is Word

Here are the basic skills fifth graders can learn in Photoshop if you’ve prepared them with basic computer skills. I’ve provided links but they aren’t live until publication:
- Photoshop artwork–already live
- Photoshop actions–already live
- Photoshop basics
- Photoshop filter and rendering tools
- Photoshop starters–auto-correct with the auto-correction tools–those quick fixes that make a photo look cleaner (coming up)
- Photoshop crop tool–with the lasso and the magic wand
- Photoshop clone tool– within a picture and to another picture
- Photoshop–change the background (put yourself in front of the Eiffel Tower or on top of Hoover Dam)
- Photoshop tools–add custom shapes
Getting Started
Before we get into Photoshop, we’ll start with a program your fifth grader is most likely comfortable with: MS Word. For basic image editing, Word does a pretty good job, so we’ll start with a project using Word’s tools. Each version of Word has slightly different tools so adapt your lesson to what is available in your school. Plus, if you’re using a different word processor (i.e., Google Docs), adapt this to its tools:
- Open a blank document. Insert a picture with multiple focal points (see samples).
- Duplicate the image once for each focal point.
- Click one image to activate toolbar.
- Crop each duplicate to show just one of the focal points available in the Picture toolbar
- Use other tools available on the toolbar. This will vary, but may include
- add a border
- wrap
- change background
- Rotate picture creatively.
- Resize and move to fit on page
- Test picture effects available
- If you use pictures from the internet, be sure they’re royalty free.

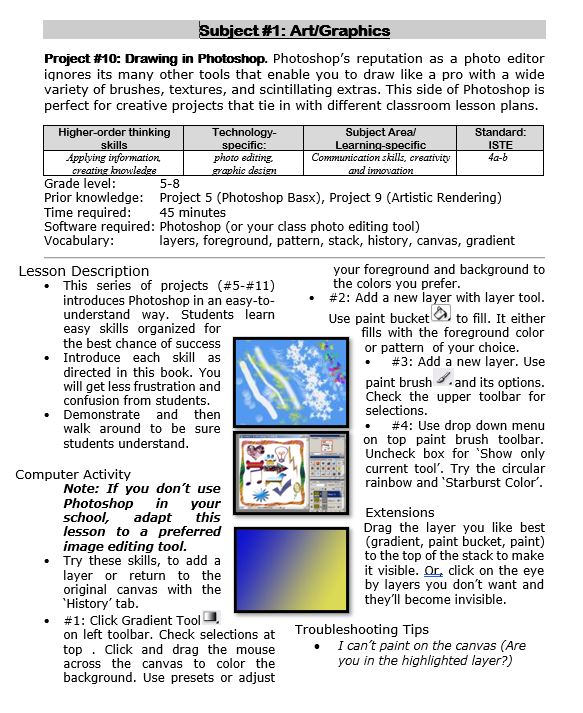
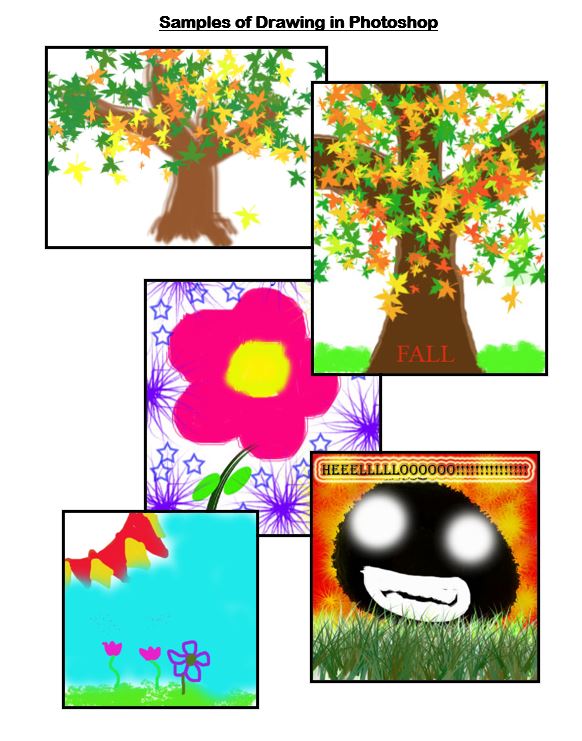
Photoshop Artwork

Photoshop reputation as a photo editor ignores its many other tools that enable you to draw like a pro with a wide variety of brushes, textures, and scintillating extras. This side of Photoshop is perfect for creative projects that tie in with many different classroom lesson plans.
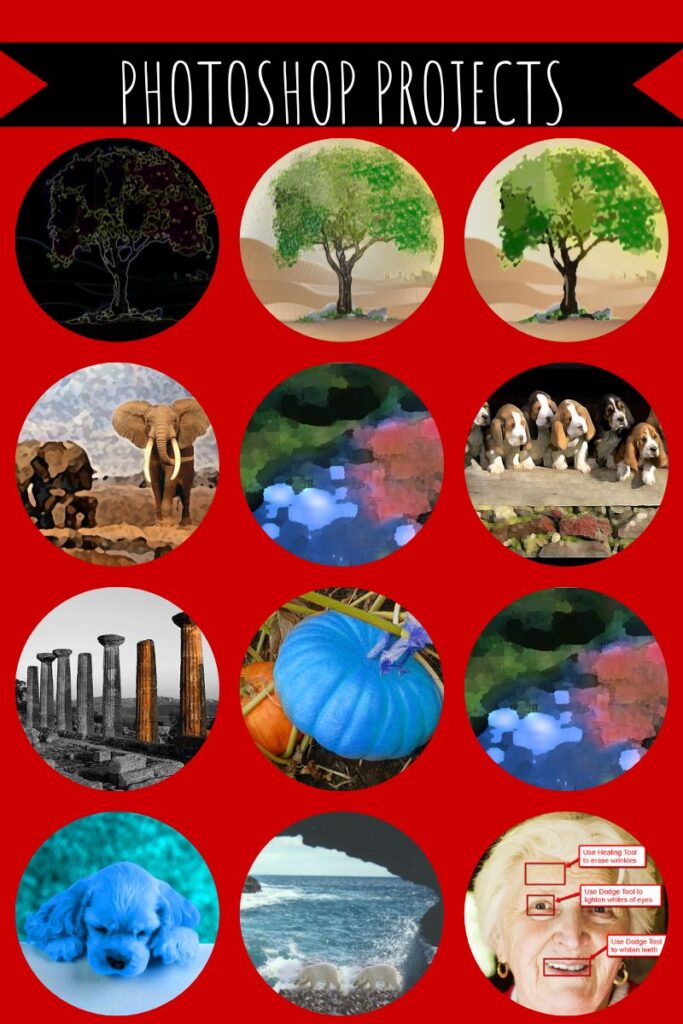
 Want more Photoshop projects available in this project book? Check these out, then click the link below:

Mastering Photo Editing: A High School Student’s Ultimate Guide to a Creative Career
As High School students explore post-graduation options, more and more are looking at careers as creators. Boosted by the rise in popularity of generative AI image options like DALL-E, photo editing as a career enjoys a resurgence among those preparing to enter the work force. It is fulfilling and potentially lucrative and relies heavily on individual passion and preparation. The Ask a Tech Teacher team has ideas on how to prepare for this career if it is your future.
Dive into the world of photo editing with our comprehensive guide tailored for high school students. Discover essential skills, artistic techniques, and practical steps for building a standout portfolio. Learn about color theory, composition, and the latest software to kickstart your journey in digital art and prepare for a successful career in photo editing.

How High School Students Can Prepare for a Career in Photo Editing
Photo editing has become a crucial skill in the digital age for professional photographers and anyone aspiring to a creative career. Our article aims to guide high school students like you who are interested in this field, highlighting the essential skills and artistic insights needed for success.
We will explore how mastering photo editing goes beyond learning software, emphasizing the importance of visual storytelling, artistic expression, and technical proficiency. No more words, let’s get it started! (more…)

Easy Photo Editing in MS Word

Before teaching students Photoshop (or GIMP), acclimate them to photo editing with a program they are likely comfortable with: MS Word. For basic image editing, Word’s pallet of tools do a pretty good job (Note: Depending upon your version of Word, some of these tools may not be available; adapt to your version):
- Open a blank document in MS Word. Insert a picture with multiple focal points (see samples). (more…)

Image Copyright Do’s and Don’ts

I’ve posted this before but it’s worth repeating. Then share it with friends, colleagues, parents, even older students.
When I teach professional development classes, by far the topic that surprises teachers the most is the legal use of online images. And they’re not alone. On my blog, in educator forums, and in the virtual meetings I moderate, there’s lots of confusion about what can be grabbed for free from online sites and what must be cited with a linkback, credit, author’s name, public domain reference, or even as little as an email from the creator giving you permission. When I receive guest posts that include pictures, many contributors tell me the photo can be used because they include the linkback.
Not always true. In fact, the answer to the question…
“What online images can I use?”
typically starts with…
It depends…
Luckily, teaching it to K-8 students is simpler because most of them haven’t yet established the bad habits or misinformation we as adults operate under. But, to try to teach this topic in a thirty-minute set-aside dug out of the daily class inquiry is a prescription for failure. The only way to communicate the proper use of online images is exactly the way you teach kids not to take items from a store shelves just because they think they can get away with it: Say it often, in different ways, with the buy-in of stakeholders, and with logical consequence. Discuss online images with students every time it comes up in their online activities.
There are five topics to be reviewed when exploring the use of online images:
- digital privacy
- copyrights
- digital law and plagiarism
- hoaxes
- writing with graphics
Here are suggestions on how to teach these to your students.
Plagiarism
Discuss plagiarism. What are the repercussions of ‘plagiarism’? When must you credit material found online? In general terms, you must cite sources for:
- facts not commonly known or accepted
- exact words and/or unique phrase
- reprints of diagrams, illustrations, charts, pictures, or other visual materials
- opinions that support research
Digital privacy
Have a discussion about privacy on the Internet—how rare it is in a world where people post everything they do onto Facebook, Twitter, and blogs. Expand your discussion by watching and then discussing this video on Online Reputations.
Discuss the use of avatars to protect online privacy. If students have online accounts (through blogs, Twitter, or a class website), have them create an avatar for their profile. Here’s a list of great avatar-creation sites.
Wrap up with a discussion on the impact of hacking on privacy. Talk with students about how kids ‘hack’ game codes. Should they do it? Is it a victimless crime? What issues should they consider? What is the difference between ‘hacking’ and ‘cracking’?
169 Tech Tip #51 Find Public Domain Images
![]() In these 169 tech-centric situations, you get an overview of pedagogy—the tech topics most important to your teaching—as well as practical strategies to address most classroom tech situations, how to scaffold these to learning, and where they provide the subtext to daily tech-infused education.
In these 169 tech-centric situations, you get an overview of pedagogy—the tech topics most important to your teaching—as well as practical strategies to address most classroom tech situations, how to scaffold these to learning, and where they provide the subtext to daily tech-infused education.
Today’s tip: Find Public Domain Images
Category: Images
Sub-category: Internet, Security, Search/Research, MS Office, Google Apps
Q: I know ‘fair use’ allows students to use most online images for educational purposes, but I want them to know how to find public domain pictures for everyday, non-school use. What’s the easiest way to do that?
A: Google Docs makes it easy by attaching the citation to any picture added through the program. Photos for Class does this also (see Tech Tip #52).
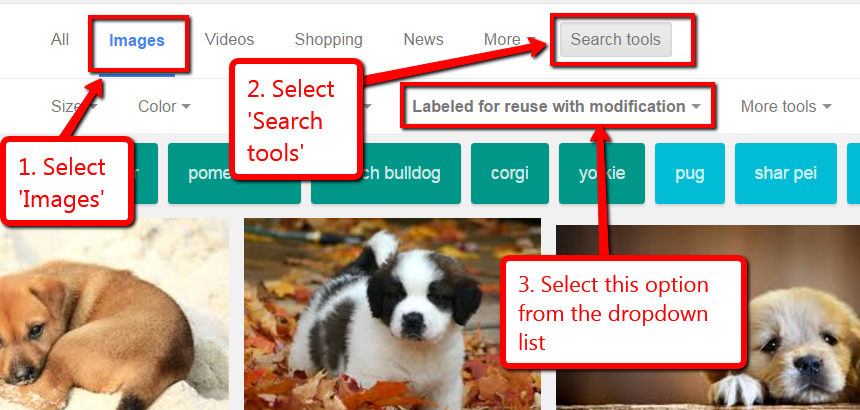
But that only works if the student is working through those two programs. To find only legal images available for free for all types of projects, you have to edit the Google search settings to reflect only images that can be used and re-edited:
- search for image through Images.Google.com (for example: puppies)
- when the thumbnails come up, go to Search tools
- using the radial button, select Labeled for reuse
Sign up for a new tip each week or buy the entire 169 Real-world Ways to Put Tech into Your Classroom.

169 Tech Tip #116–How to Take Screenshots
In these 169 tech-centric situations, you get an overview of pedagogy—the tech topics most important to your teaching—as well as practical strategies to address most classroom tech situations, how to scaffold these to learning, and where they provide the subtext to daily tech-infused education.

Today’s tip: #116–How to Take Screenshots
Category: CLASSROOM MANAGEMENT
Sub-category: Keyboarding, PC, Mac, iPad, Chromebook
Here are the screenshot shortkeys for five platforms:
- Windows: a tool included in Windows called the Snipping Tool
- Chromebooks: Ctrl+Window Switcher key
- Mac: Command Shift 3 for a full screenshot; Command Shift 4 for a partial screenshot
- Surface tablet: hold down volume and Windowsbutton
- iPad: hold Home button and power button simultaneously
There are also screenshot programs you can download like Jing and Printkey (the latter uses your keyboard’s Print Scr key) or use from your browser (like Nimbus or Snagit). Each has a different selection of annotation tools. You may find this works better for your needs.

10 Tips About Using Images in the Classroom You Don’t Want to Miss
 Here are ten of the top image tips according to Ask a Tech Teacher readers:
- Photos For Class–Robust, Student-safe with built in citations
- Quick Search for Plagiarized Images
- What Online Images are Free?
- Where Can I Find Kid-safe Images?
- 5 Image Apps for your Classroom
- My Picture’s a TIFF and the Program Needs a JPG
- Wrap Text Around an Image
- How to Move Pics Around in Documents
- Easy Photo Editing in MS Word
- Images (curated list by category)
Click for a lesson plan on Image Copyright Do’s and Don’ts.

Image Copyright Do’s and Don’ts
When I teach professional development classes, by far the topic that surprises teachers the most is the legal use of online images. And they’re not alone. On my blog, in educator forums, and in the virtual meetings I moderate, there’s lots of confusion about what can be grabbed for free from online sites and what must be cited with a linkback, credit, author’s name, public domain reference, or even as little as an email from the creator giving you permission. When I receive guest posts that include pictures, many contributors tell me the photo can be used because they include the linkback.
Not always true. In fact, the answer to the question…
“What online images can I use?”
typically starts with…
It depends…
Luckily, teaching it to K-8 students is simpler because most of them haven’t yet established the bad habits or misinformation we as adults operate under. But, to try to teach this topic in a thirty-minute set-aside dug out of the daily class inquiry is a prescription for failure. The only way to communicate the proper use of online images is exactly the way you teach kids not to take items from a store shelves just because they think they can get away with it: Say it often, in different ways, with the buy-in of stakeholders, and with logical consequence. Discuss online images with students every time it comes up in their online activities.
There are five topics to be reviewed when exploring the use of online images:
- digital privacy
- copyrights
- digital law and plagiarism
- hoaxes
- writing with graphics
Here are suggestions on how to teach these to your students.

Photos For Class–Robust, Student-safe with built in citations
A question I get a lot from readers is where to go for free, classroom-safe images. Photo sites are either too sparse or poorly vetted. And–while we’re on the subject of online images–it needs to be easier to add citations because otherwise, students will just skip that step.
Photos for Class, brought to you by the folks at Storyboard That (a premier digital storytelling site that quickly and easily enables students to mix avatars, backgrounds, and talk bubbles to tell a story) does all of these. It uses proprietary filters to search millions of Creative Commons-licensed photos from the Library of Congress, the British Royal Archives, and Flikr’s safe-search setting to curate a classroom-safe collection of topical photos in seconds. There is no log-in, no registration, no fee or premium plan, and a zero learning curve. All students need to know is how to use a search bar and a download button.
Here’s how it works: Go to the Photos for Class website (no registration or log-in required), search your topic:
…and then download the selected photo. Each downloaded photo includes an attribution and license detail.

There is no charge, no delay, and lots of choices.
In addition to photos, the site offers suggestions on citing and filtering photos, and a list of the top 250 searches.