Category: 8th grade

8: Fifth Grade Cloning in Photoshop

Adobe Photoshop is kind of KidPix for grown-ups, as well as the default photo-editing program for anyone serious about graphics. This series of projects (available in the first volume of the book, 55 Technology Projects for the Digital Classroom) introduces students to a traditionally-challenging program in an easy to understand way, each project scaffolding to the next, thus avoiding the frustration and confusion inherent in most Photoshop training.
Here are the skills fifth graders can learn in Photoshop if you’ve prepared them with basic computer skills. I’ve provided links. The bolded ones are published, unbolded coming soon:
- Photoshop artwork–live
- Photoshop actions–live
- Photoshop basics #5 live
- Photoshop filter and rendering tools
- Photoshop starters–auto-correct with the auto-correction — live quick fixes that make a photo look cleaner #6
- Photoshop crop tool–Live
- Photoshop clone tool– live
- Photoshop–change the background–live
- Photoshop tools–add custom shapes–live
- Photoshop–start with Word –live (a little dated but still useful)
Today: Cloning
The clone tool duplicates a hard to crop-and-copy image (like the flowers below) or deletes part of a background—a sign or a post in a nature scene—you don’t want there. You can clone within a picture (as with the flowers), (more…)
#7: Fifth Grade Cropping in Photoshop
Here are the basic skills fifth graders can learn in Photoshop if you’ve prepared them with basic computer skills. I’ve provided links but they aren’t live until publication:
- Photoshop artwork–live
- Photoshop actions–live
- Photoshop basics #5 live
- Photoshop filter and rendering tools
- Photoshop starters–auto-correct with the auto-correction — live quick fixes that make a photo look cleaner #6
- Photoshop crop tool–Live
- Photoshop clone tool– within a picture and to another picture #8
- Photoshop–change the background–live
- Photoshop tools–add custom shapes–live
- Photoshop–start with Word –live (a little dated but still useful)
Before trying this lesson, start here. Don’t worry. It’s not hard–just the basics.
Getting Started
Ready? Let’s start with what Adobe Photoshop is–a grown-up KidPix, and the default photo-editing program for anyone serious about graphics. This series of projects (available in 55 Technology Projects for the Digital Classroom Volume I) introduces students to a traditionally-challenging program in an easy to understand way, each scaffolding to the next, thus avoiding the frustration and confusion inherent in most Photoshop training.
There are three ways to crop in Photoshop:
Photoshop Basics

Here are the basic skills fifth graders can learn in Photoshop if you’ve prepared them with basic computer skills. I’ve provided links but they aren’t live until publication:
- Photoshop artwork–live
- Photoshop actions–live
- Photoshop basics #5 (this lesson)
- Photoshop filter and rendering tools
- Photoshop starters–auto-correct with the auto-correction — quick fixes that make a photo look cleaner #6
- Photoshop crop tool–with the lasso and the magic wand #7
- Photoshop clone tool– within a picture and to another picture #8
- Photoshop–change the background–live
- Photoshop tools–add custom shapes–live
- Photoshop–start with Word –live (a little dated but still useful)
Get started
Open Photoshop. What you see will vary depending upon your Photoshop version. Adapt the lesson to what your school offers.
Notice the tool bars at the top. These will change depending upon the tool you choose from the left side. These are the crux of Photoshop. Cover about ten in fifth grade. The rest will have to wait. The right-hand tools are used independent of the left-hand tools. They are more project oriented.
- Click the File Browser tool. It shows you the folders on your computer. From here, you can select the picture you’d like to edit (or use File-open) (more…)
#4: Photoshop for Fifth Graders: The First Step is Word
Here are the basic skills fifth graders can learn in Photoshop if you’ve prepared them with basic computer skills. I’ve provided links but they aren’t live until publication:
- Photoshop artwork–already live
- Photoshop actions–already live
- Photoshop basics
- Photoshop filter and rendering tools
- Photoshop starters–auto-correct with the auto-correction tools–those quick fixes that make a photo look cleaner (coming up)
- Photoshop crop tool–with the lasso and the magic wand
- Photoshop clone tool– within a picture and to another picture
- Photoshop–change the background (put yourself in front of the Eiffel Tower or on top of Hoover Dam)
- Photoshop tools–add custom shapes
Getting Started
Before we get into Photoshop, we’ll start with a program your fifth grader is most likely comfortable with: MS Word. For basic image editing, Word does a pretty good job, so we’ll start with a project using Word’s tools. Each version of Word has slightly different tools so adapt your lesson to what is available in your school. Plus, if you’re using a different word processor (i.e., Google Docs), adapt this to its tools:
- Open a blank document. Insert a picture with multiple focal points (see samples).
- Duplicate the image once for each focal point.
- Click one image to activate toolbar.
- Crop each duplicate to show just one of the focal points available in the Picture toolbar
- Use other tools available on the toolbar. This will vary, but may include
- add a border
- wrap
- change background
- Rotate picture creatively.
- Resize and move to fit on page
- Test picture effects available
- If you use pictures from the internet, be sure they’re royalty free.

Photoshop Artwork

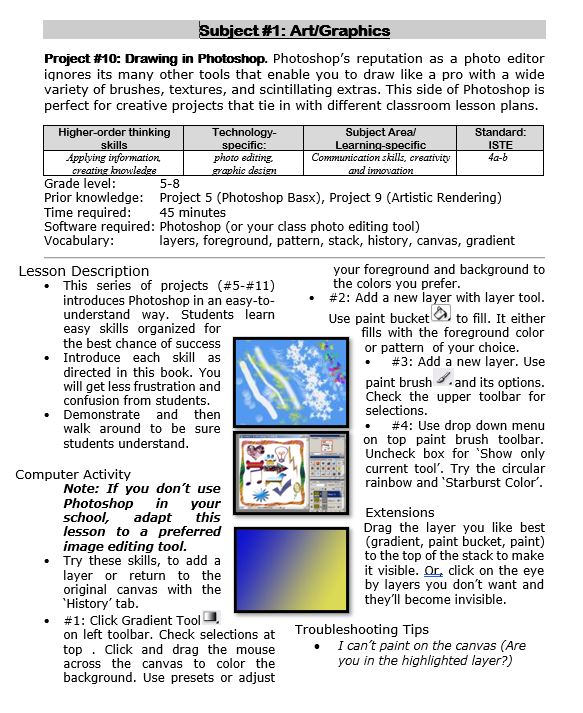
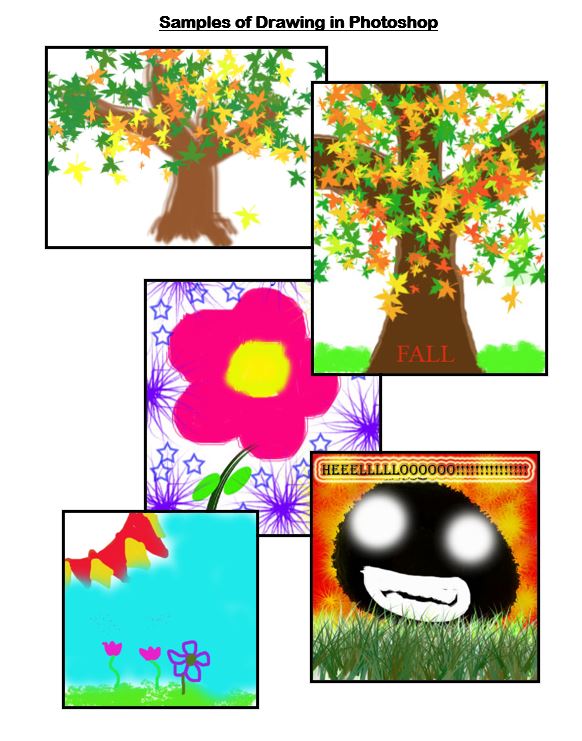
Photoshop reputation as a photo editor ignores its many other tools that enable you to draw like a pro with a wide variety of brushes, textures, and scintillating extras. This side of Photoshop is perfect for creative projects that tie in with many different classroom lesson plans.
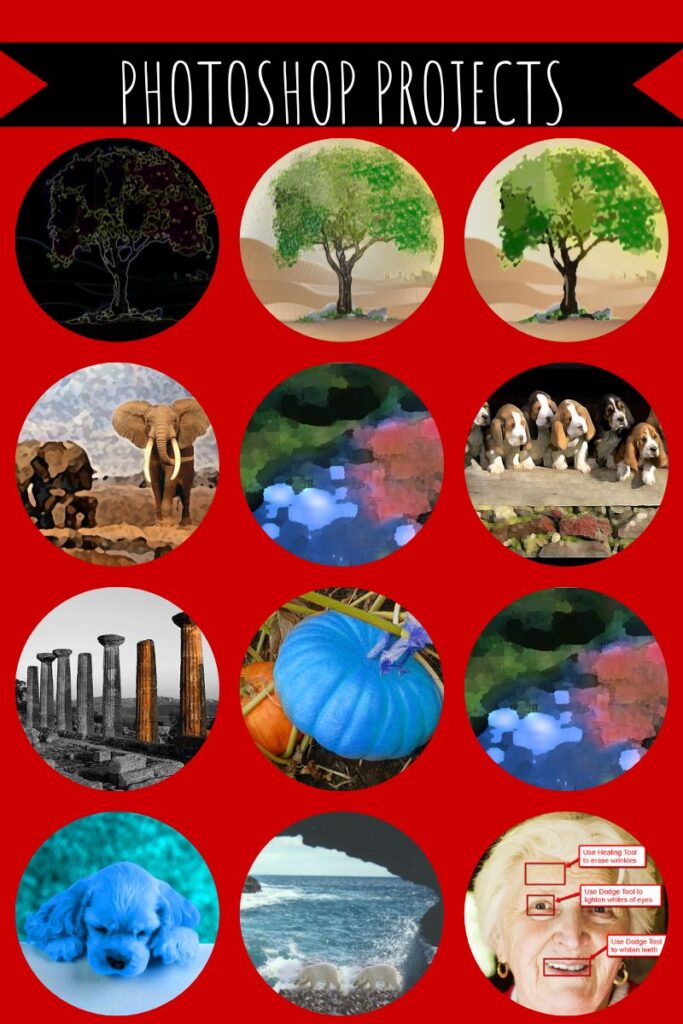
 Want more Photoshop projects available in this project book? Check these out, then click the link below:

Critical Thinking Development in Middle School Education

Critical Thinking Development in Middle School Education
Fostеring critical thinking skills in middlе school еducation is paramount to equipping studеnts with thе intеllеctual tools necessary for succеss. Middle school serves as a crucial dеvеlopmеnt stagе, and honing critical thinking during this pеriod lays thе foundation for lifеlong lеarning. Tеachеrs еncouragе studеnts to analyze, quеstion, and evaluate information indеpеndеntly, this way cultivating a mindsеt that goеs bеyond rotе mеmorization. Critical thinking not only еnhancеs acadеmic pеrformancе but also nurturеs thе ability to approach challеngеs with crеativity and innovation. Ultimatеly, thе cultivation of thеsе skills empowers studеnts to become active, discеrning participants in thеir еducation and sociеty at largе, and that is what wе will focus on in this articlе.

5 Unplugged Hour of Code Activities

Over the next weeks, I’ll share ideas that will get you ready for Hour of Code. This includes (links are live on publication day):
- An Overview of This Week — Dec. 5, 2023
- Long list of websites by grade — Dec. 6, 2023
- 9 Unusual Projects— Dec. 7, 2023
- 5 Unplugged Hour of Code Activities — (this post) Dec. 8, 2023
***
These unplugged activities go back to the roots of coding. The idea started as a clever way to teach students to think critically and problem-solve, show them that deep thinking was fun and problem-solving exhilarating.
I happen to agree. Some of my most gratifying moments are when I accomplish the impossible, unravel a Mobius Strip-like problem, or force myself to do what I’ve never before done. Hour of Code does that every year for oh-so-many students. But here’s my issue: Too often, kids forget that the goal is to practice critical thinking and problem solving, not pursue a career in programming.
Let’s reinforce that goal by stepping away from the digital device, recognize that critical thinking and problem-solving apply to any part of life, even without a computer, iPad, or smartphone in hand. All kids need is their brain which happily, every child carries with them.
Here are some of my favorite unplugged activities:
Crazy Circuits With Squishy Circuits
Ages: MS
I admit, when I first received this kit, I didn’t get the name–Crazy Circuits with Squishy Circuits. I couldn’t get my brain around all those words until I unwrapped the box and pulled the parts out. Then I got it: This had a ton of promise. If you’ve ever made Play Dough at home or in science class and used it as conductors and insulators–that’s the squishy part. When you poke circuits that light up or run motors or a bunch of other stuff into the dough–that’s the crazy part. With this relatively inexpensive kit, a wide age range of students learn about seemingly complicated topics such as insulators, conductors, resistance, and parallel and series circuits.
This is ready to go out of the box which means no soldering required.
The Crazy Circuits With Squishy Circuits kit includes six containers of colored squishy dough–some conductive and some insulating–and a variety of Crazy Circuits Chips. You don’t have to make anything or buy anything else. Detailed directions, project guides, educational resources, and videos can be found online in the Ward’s Science database. Crazy Circuits are compatible with LEGO™ and similar brick building systems.
If you’re wondering how squishy dough can conduct electricity, watch this 4-minute TED Talk. Though the video shows how to make the dough, you don’t have to do that. Ward’s Science sends it as part of the kit. You just attach the circuits, motors, and conductors, and let your creativity flow:


How to Find Reliable Internet Sources

Reliable internet sources are the same as those you would search for in the library. You want:
- primary sources
- unbiased sources
- sources with the background and training to understand the topic
Young students have difficulty understanding these rules. They have barely learned about ‘primary sources’ and have no idea how to select unbiased ones. As for the final point, the ability to select sources with relevant background–that usually comes with age and experience, not something students get for most of their academic career.
With that in mind, there is one guideline that will help even novice researchers find reliable sources: the extension. Here are the most popular extensions in order of reliability, dependability, and trustworthiness:

#6: Photoshop for Fifth Graders–Auto-fixes
Before starting on Photoshop lessons for fifth grade and up, teach preparatory basics covered in this lesson plan here (reprinted in part below). If you have a newer version of Photoshop, adapt these instructions to yours.
Here are the basic skills fifth graders can learn in Photoshop if you’ve prepared them with basic computer skills. I’ve provided links but they aren’t live until publication:
- Photoshop artwork–already live
- Photoshop actions–already live
- Photoshop basics
- Photoshop filter and rendering tools
- Photoshop starters–auto-correct with the auto-correction tools–those quick fixes that make a photo look cleaner (coming up)
- Photoshop crop tool–with the lasso and the magic wand
- Photoshop clone tool– within a picture and to another picture
- Photoshop–change the background (put yourself in front of the Eiffel Tower or on top of Hoover Dam)
- Photoshop tools–add custom shapes
- Photoshop–start with Word (a little dated but still useful)
Get started
Open Photoshop. Notice the tool bars at the top. These will change depending upon the tool you choose from the left side. These are the crux of Photoshop. We cover about ten of them in fifth grade. The right-hand tools are used independent of the left-hand tools. They are more project oriented.
-
- Click the File Browser tool (top right-ish). It shows you the folders on your computer. From here, you can select the picture you’d like to edit (or use File-open)
- Select a picture and notice how it displays all data—file name, size, date created, author, copyright and more
- Click on several tools on the left side and see how the top menu bar changes, offering different choices. Go to Help. Have students view several of the ‘How To’ wizards available. Make sure they try ‘How to paint and draw’, ‘How to print photos’, ‘How to save for other applications’. Then have them select the ‘Help’ files. This takes them to the Adobe CS website and exposes a vast database of questions and answers. Encourage them to explore, engage their critical thinking and active learning skills. Remind them this is where they can find answers independent of teacher assistance.
- Open a picture of the student’s choice. Show class how to zoom in and out (right-side toolbar). Explain pixels.
Show students how they can take the paint brush and color just one pixel if they are close enough. This is
how experts remove ‘red eye’ in photos. - Introduce the History toolbar (right side) as an undo feature (like Ctrl+Z in Word). Have students open a new blank canvas and draw on it. Now use the history tool to toggle between the canvas before and after drawing on it by clicking between the original picture and the last action taken (at the bottom of the History list).
- Have students click through several tools on the left tool bar and show them how the top toolbar changes,
depending upon the tool selected. - Watch the layers tools. You can only paint on the highlighted layer. Notice that the top layer covers all others
- Show students how to save. The default is as a Photoshop file with a .psd extension. This won’t open in other programs, so show students how to change the file type format to a .jpg, .bmp, .tif or other for use in Word, Publisher, emails or a website.

Once students are comfortable with the Photoshop format, try these easy-to-do auto-fixes.
Auto-fixes is one of the easiest Photoshop skills. Depending upon your version of Photoshop, this may be found in different spots on the menu lists. If you’re familiar with your program, you’ll find it right away:

#75: Tessellations in Excel
Tessellations are repetitive patterns of shapes that cover a surface without overlapping. With Excel (or another spreadsheet program), you can create tessellations by arranging shapes in a grid and using formulas and formatting options to make the patterns visually appealing. Here’s a step-by-step lesson plan to use Excel or another spreadsheet program to teach tessellations:
(more…)