 Google Drawings is a free, web-based drawing tool that allows users to collaborate and work together in real time to create flowcharts, organizational charts, website wireframes, mind maps, concept maps, drawings, and more. It is included in GAFE, Google Classroom, G Suite, and Google Drive (this may vary in managed domains, depending upon whether the administrator turns on access to this tool).
To use Google Drawing, here’s what you do:
- Open your Google Drive account; go to New and select Google Drawings.
- Insert shapes, lines, an image, or text with the editing tools.
- When finished, add this drawing to another Google Doc, slideshow, or spreadsheet, save it as a stand-alone file, and/or share it with others in a wide variety of methods.
There are a lot of drawing programs available — SumoPaint, KidPix, and TuxPaint to name a few. All wonderful in their own right. So why use Google Drawings instead of a tool you are already familiar with? Here are seven reasons:
- it’s collaborative
- projects are easily shared with teacher
- it can be used at home and school — and synced between the two locations
- it is minimalist — the project is easy to find in the student’s Google Drive (if they attend a Google school). No tracking it down and wondering, “What tool did I use to create this project?”
- changes or edits are easy to add — just open the project in Google Drive and edit
- project can be embedded into student digital portfolio or class gallery
- project can be downloaded as an image file, a vector graphic, or a PDF
Be aware: Each drawing program mentioned above may have some of these, but few have all. Except, of course, Google Drawings.
Here are eight projects that are perfect for Google Drawings:
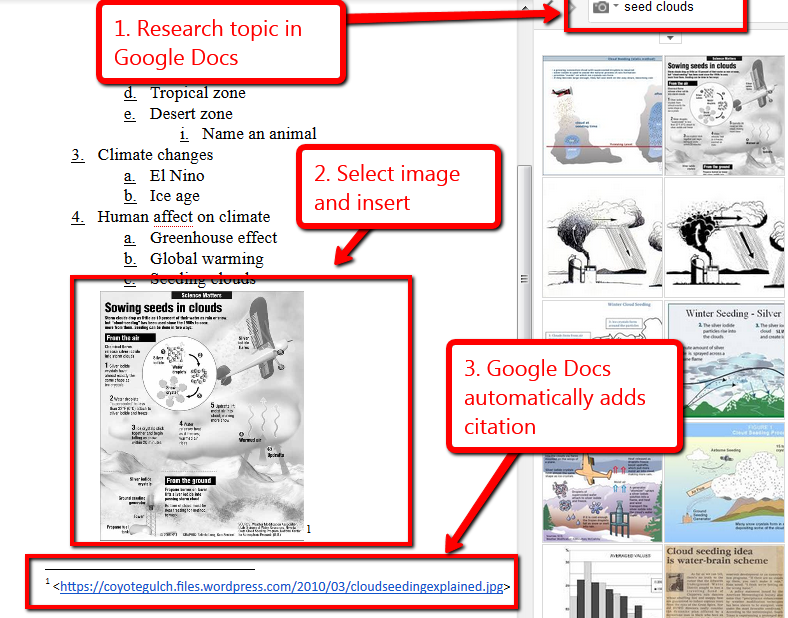
Annotated screenshot
Open a picture in Google Drawings and annotate it using the drawing tools. Besides common annotation choices like arrows, lines, and text, students can add charts, graphs, other images — even a table to fully communicate their ideas.
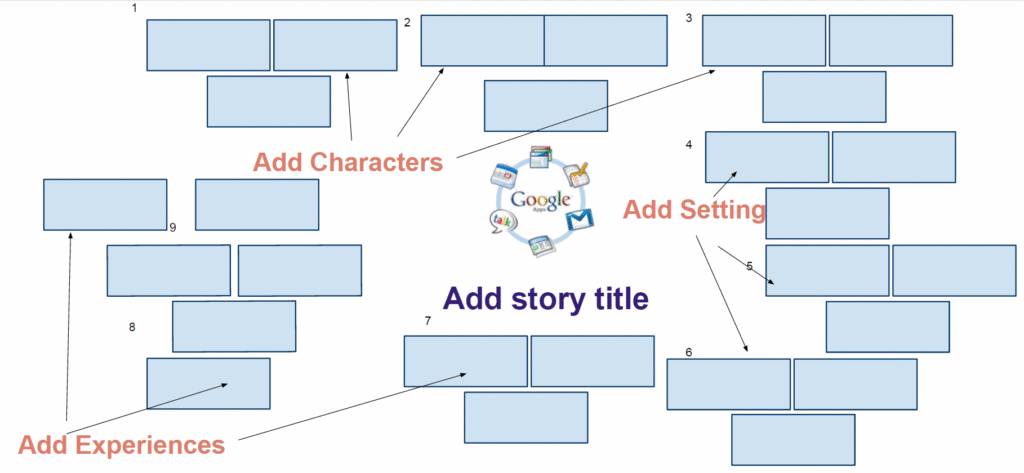
Brainstorming, mindmap
Create the bubbles and arrows popular to mindmaps with Google Drawings tools rather than a dedicated mindmap site (such as Bubbl.us). Once students see it done, it’s intuitive. Since Google Drawings allows for collaborating on the mindmap and sharing with all stakeholders, it’s easy to brainstorm a project and come up with a collaborative solution that everyone can use to develop the final project.
Here’s an example:
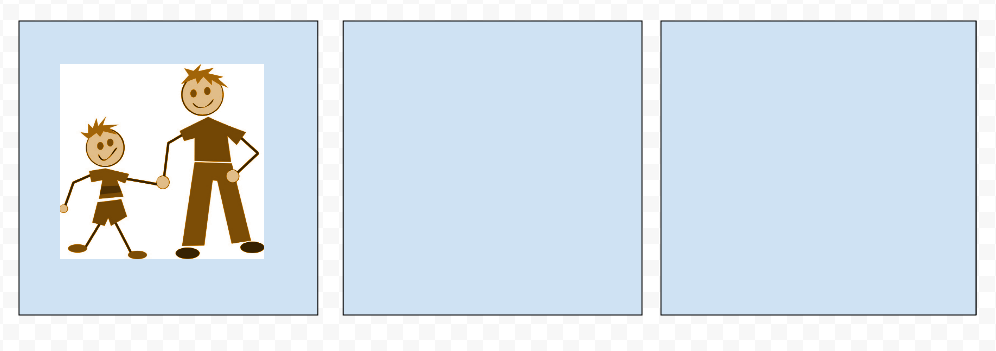
Comic strip
Have students create their own comic strip by simply drawing as many frames as they want and then filling them in with text, drawing, images, and more.
Infographics
Students may not create the next viral infographics in Google Drawings, but they’ll easily design one that shares impoertant ideas and allows viewers to dig deeper. Use it for anything from a seating chart to a summative review on inquiry using Google Drawings’ tools such as shapes, images, text, charts, graphs, tables, and colors. Students can even hyperlink data to external resources.
Here’s a good video on how to create the shapes required for infographics. Once that’s done, add text boxes to describe your theme.
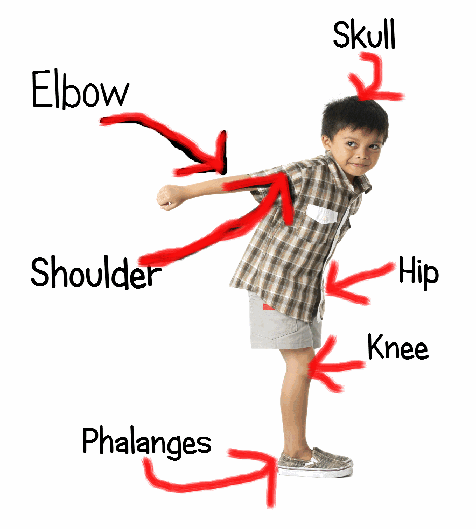
Label parts of an object
Share out a drawing that relates to a class inquiry topic and have students label it using text boxes and arrows. This works well for many topics including states of the United States, countries around the world, planets in the Solar System, parts of a cell, and parts of the human body. You can even have students take a picture of the plant, animal, or themselves, add that to their Google Drawings doc, and label it:
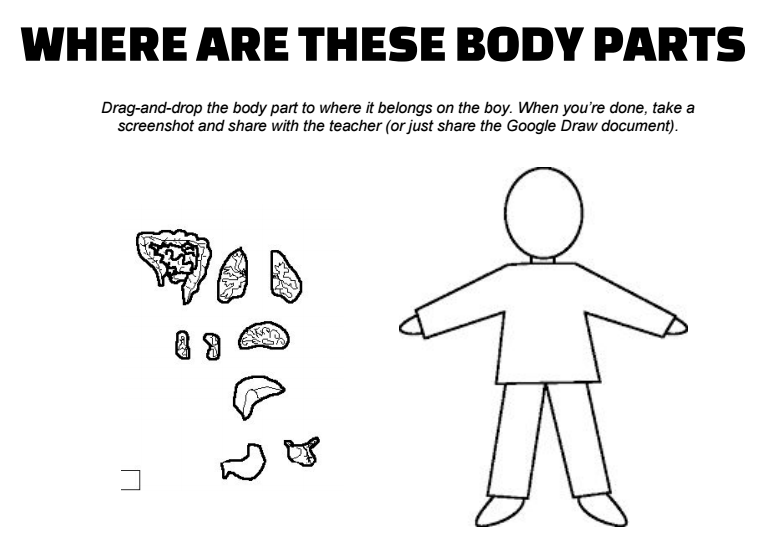
For youngers, share out an image of the object (such as the person to the right side of the image below) and then the parts of the whole in a column to the side (such as the internal organs in a human body to the left of the figure). Ask students to drag-and-drop the parts to their appropriate location:
Timeline
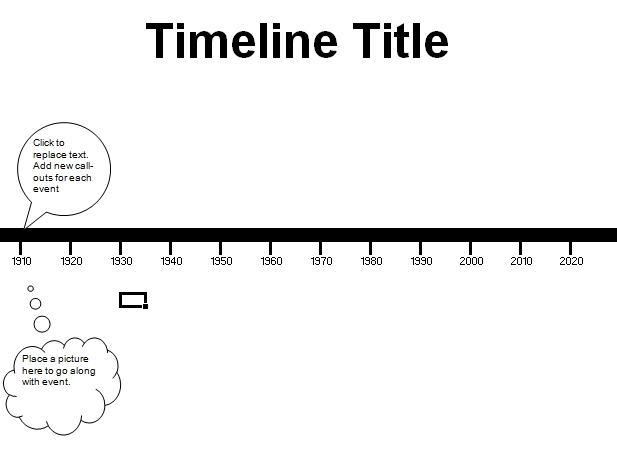
I love using timelines in my classes, but most of the timeline tools I’ve found are less than satisfactory (I won’t mention names). What has become a favorite is simply drawing the timeline in Google Drawings, adding text boxes to identify the dates and events, and then adding pictures if desired. The example below uses callouts so the tip can be attached to the relevant date:
Venn Diagrams
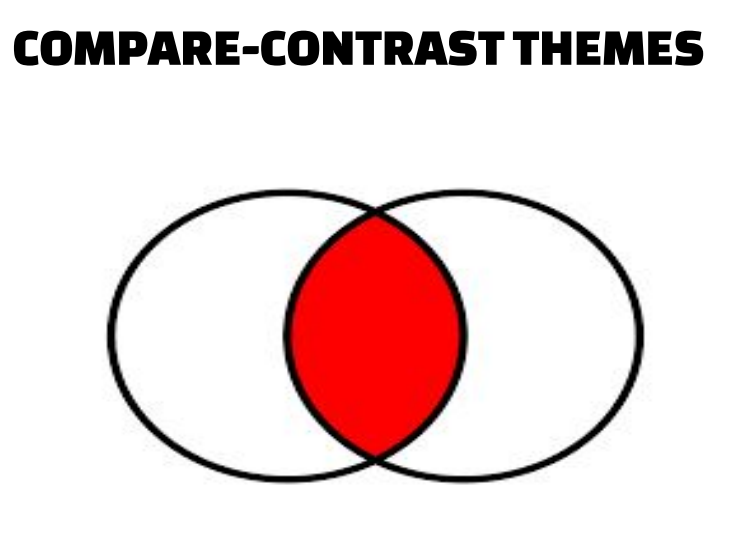
Create the circles required for the Venn Diagram, fill in the overlapping portion with the paint bucket, and use the text tool to add characteristics from each category, including those that overlap to the colored section. This is great for any lesson where compare-contrast is required.
Your own Thinglink
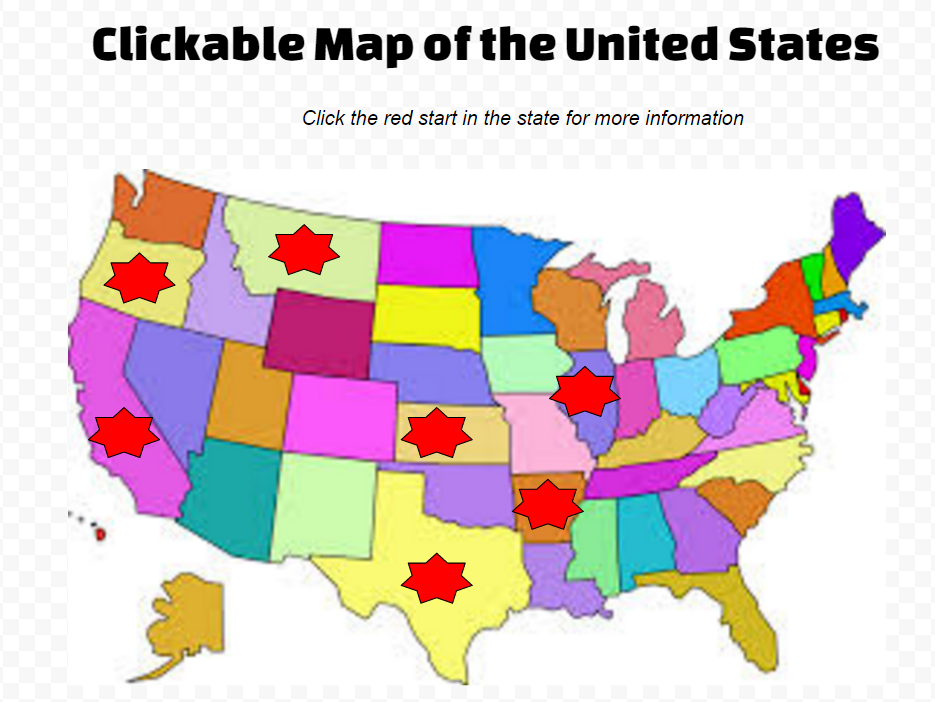
Add a picture that you want to use to discuss a topic. As you might do in Thinglink, add icons that indicate where there’s a weblink that can be clicked to access more information.
Here’s an example (though you won’t be able to click the red stars because I’ve uploaded a screenshot of the original document):
***
These ideas are only the beginning. How have you used Google Drawings to make your classroom more exciting?
Jacqui Murray has been teaching K-18 technology for 30 years. She is the editor/author of over a hundred tech ed resources including a K-12 technology curriculum, K-8 keyboard curriculum, K-8 Digital Citizenship curriculum. She is an adjunct professor in tech ed, Master Teacher, webmaster for four blogs, an Amazon Vine Voice, CSTA presentation reviewer, freelance journalist on tech ed topics, contributor to NEA Today, and author of the tech thrillers, To Hunt a Sub and Twenty-four Days. You can find her resources at Structured Learning.











1 thought on “How to Use Google Drawings”
Comments are closed.